Key points
- The most commonly taught approach has 4 steps; the 5-step version adds a small starter step at the beginning.
- The swing must stay a pendulum: the arm guides the ball, it doesn't force it.
- The ball leaves the hand at ankle height next to the sliding foot, just before the foul line.
- Aim at the arrows about 4.5 m away, not at the pins 18.29 m away.
- A finish held for 2 seconds, balanced on the sliding leg, is the best sign of a controlled delivery.
Why does technique matter more than strength?
In bowling, consistency earns more points than speed. A ball rolled at medium speed but always on the same line produces more strikes and spares than a powerful, unpredictable delivery. League bowlers who average over 180 don't throw harder than beginners: they repeat the same movement, from the first step to the finish.
Basic technique breaks down into five phases that flow into one another without a break: the starting stance, the approach, the swing, the release and the finish. Each phase sets up the next. A mistake at the start (feet in the wrong position, ball held too high) almost always shows up again at the release. If you're new to the game, start with our guide on how to bowl, then come back here to fine-tune each step.
What stance should you take at the start?
The ideal starting stance is upright but relaxed: feet together or slightly staggered, knees soft, upper body leaning slightly forward and the ball held between waist and chest, on the side of your bowling arm. Your shoulders stay square to the target, parallel to the foul line.
- Your bowling hand sits under the ball, thumb in the thumb hole, middle and ring fingers in theirs.
- Your other hand supports the ball from underneath: it carries most of the weight so that your bowling arm stays relaxed.
- The elbow of your bowling arm is tucked in against your hip. An elbow that sticks out sends the ball off diagonally.
- Your eyes are already fixed on the target arrow, not on the pins.
Where should you stand on the approach?
To find your starting distance, stand with your back to the pins, heels a few centimetres from the foul line, then take four and a half natural steps (five and a half for a 5-step approach) away from the line. Turn around: that is your starting position. The approach is at least 4.57 m (15 feet) long and has two rows of markers (dots) at 3.66 m and 4.57 m from the foul line. Note which dot your sliding foot is on so you can take exactly the same position for every shot.
Sideways, a right-handed beginner usually starts with the left foot near the centre board (the big middle dot, board 20), then adjusts according to the result.
How does the 4-step approach work?
The 4-step approach syncs each step with a ball position: one step, one arm movement. Here is the sequence for a right-hander (swap feet if you're left-handed).
| Step | Foot (right-hander) | Ball position |
|---|---|---|
| 1 | Right | Pushaway: both hands push the ball out in front of you, arms almost straight |
| 2 | Left | The ball drops and swings down past your leg; the left hand lets go of it |
| 3 | Right | Top of the backswing, at hip height or slightly above |
| 4 | Left (slide) | The ball comes back down, the foot slides, release at left-ankle height |
Your steps gradually get longer and faster: the first is short and slow, the last is a slide. Walk in a straight line towards the target; drifting by a few boards is normal as long as it's always the same.
What about the 5-step approach?
The 5-step approach adds a small preparatory step with the sliding foot (the left foot for a right-hander) before the ball moves. This first step sets the starting rhythm and suits bowlers who tend to push the ball away too early. The next four steps then follow exactly the pattern shown in the table. It is the most common approach among experienced bowlers, but the 4-step version remains the easiest way to learn timing.
Drill: walk through the approach without a ball, counting quietly “one, two, three, four”. Then do it again with the ball, checking that the pushaway starts exactly on “one”. Timing is built empty-handed before it's built with 6 or 7 kg at the end of your arm.
How do you get your swing right?
A good swing is a pendulum motion: after the pushaway, the ball drops under its own weight, rises behind you, then comes back down, naturally picking up speed. Your arm goes along with this pendulum without forcing it. The higher the pushaway, the bigger the swing and the faster the ball; so it's the height of the pushaway, not arm strength, that sets your speed.
- Arm straight like a pendulum: it passes close to the hip, without looping outwards or behind your back.
- Stable shoulders: your bowling shoulder can open slightly on the backswing, but it comes back square to the target at the release.
- Limited backswing when you're starting out: hip height, or shoulder height at most. Beyond that, the movement becomes hard to control.
- Firm wrist: it doesn't bend backwards or forwards on the downswing.
If your arm tenses up, the ball is probably too heavy. Choosing the right weight is covered in detail in how to choose a bowling ball.
How do you release the ball properly?
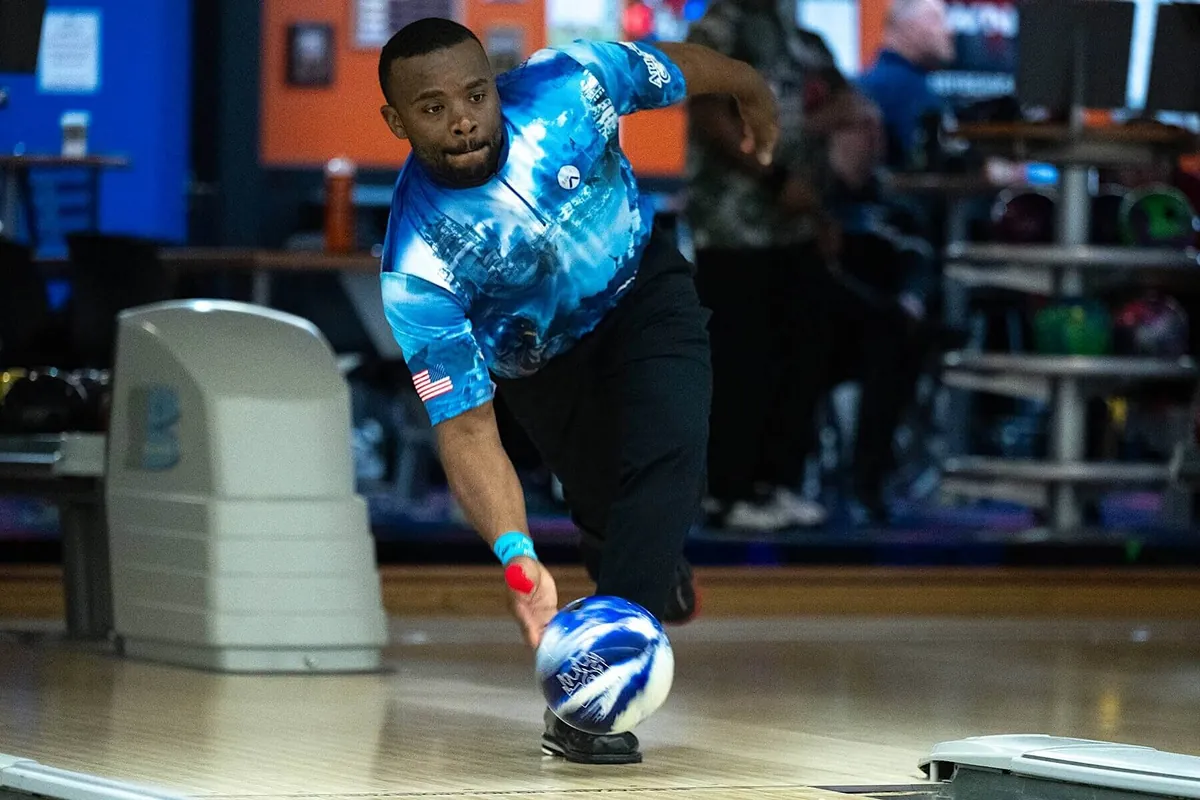
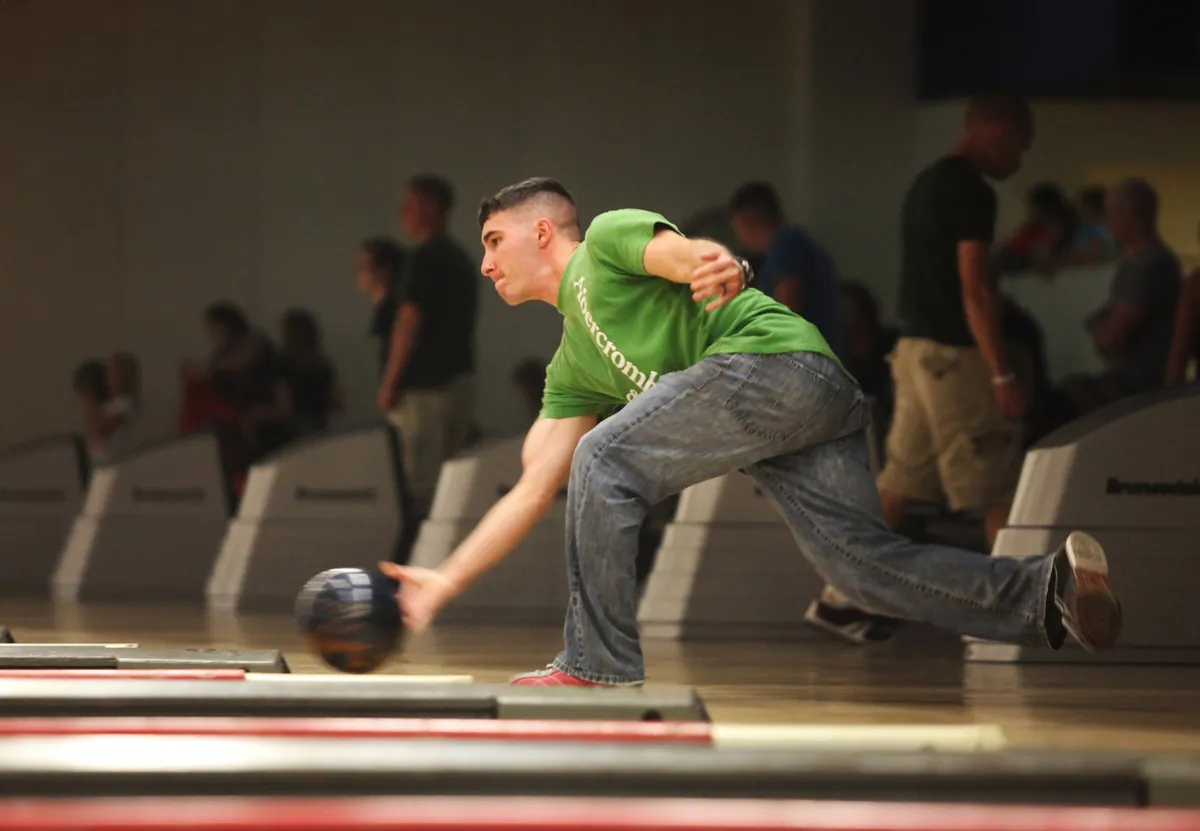
The release happens at the lowest point of the swing, when the ball passes in front of the ankle of your sliding foot, just before the foul line. The thumb comes out first, the fingers a split second later: they are what give the ball its rotation and direction.
The ball should be “set down” on the lane a little beyond the foul line, not dropped from a height. A loud thud on impact means the ball is being dropped: the release is too late or your upper body is too upright. Bend your sliding knee more to bring your hand closer to the floor.
Straight ball or hook?
To start with, hold your hand as if you were about to shake hands (thumb up, at about 12 o'clock), with your palm staying behind the ball. This gives an almost straight path that is easy to control. The hook delivery, which spins the ball so that it curves into the pins, is something to work on once you've mastered the straight line: see how to hook a bowling ball.
Never cross the foul line: it's a foul that cancels the pins knocked down, and the oiled surface beyond it is very slippery.
What is the finish for?
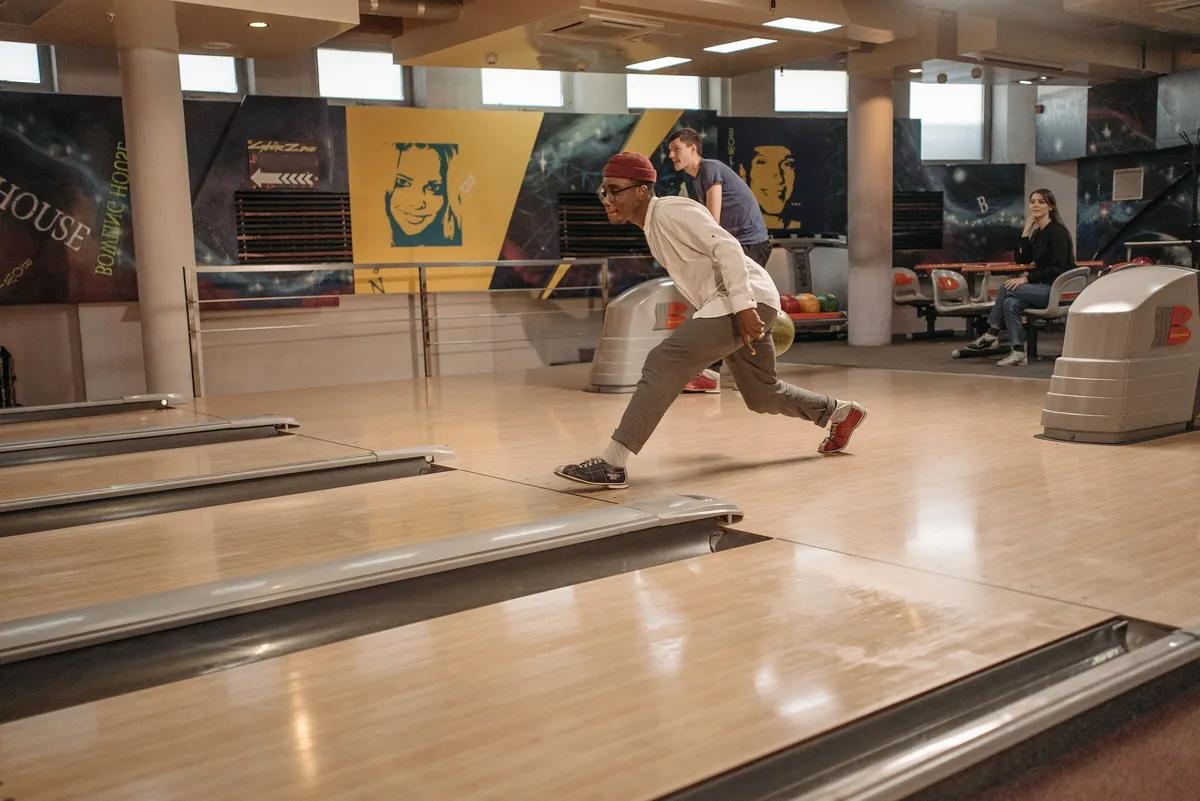
The finish is the position you hold after the release, and it reveals everything that came before it. A correct finish looks like this: sliding knee bent, upper body leaning forward (about 15 to 20 degrees), bowling arm continuing upwards towards the target, back leg extended behind you and slightly to the side as a counterweight, free arm out to the side for balance.
Hold this position for two seconds, until the ball passes the arrows. If you fall to one side or have to take a step to catch yourself, the problem lies earlier: an approach that is too fast, a last step that is too short or a ball that is too heavy.
Where should you aim to be consistent?
Aim at the arrows, not the pins. The seven arrows inlaid in the lane, about 4.5 m (15 feet) from the foul line, are a target four times closer than the headpin, which stands 18.29 m away. It is much easier to roll a ball over a specific arrow than to aim at a point 18 metres away.
For a right-hander who throws a straight ball, a good starting point is to aim at the second or third arrow from the right. You then adjust with your feet rather than your target: if the ball goes left of the pocket, move your feet 2 boards to the left while keeping the same arrow. Aiming is covered in more detail in how to bowl a strike.
Which mistakes should you fix to improve?
| Symptom | Likely cause | Fix |
|---|---|---|
| The ball lands heavily on the lane | Release too late, knee too stiff | Bend your sliding knee, release in front of your ankle |
| The ball always goes left (right-hander) | Arm crossing the body, shoulders turning | Keep your elbow close to your hip, finish with your arm towards the target |
| Losing balance at the finish | Approach too fast or ball too heavy | Slow down your first steps, try a lighter ball |
| Thumb getting stuck | Hole too tight or tense hand | Change ball, relax your grip |
| Very inconsistent speed | Pushaway at a different height on every shot | Always push the ball away at the same height |
How can you improve quickly?
Work on one thing at a time. One session devoted to the finish, another to the timing of the first step, another to aiming at the arrows: that's more effective than trying to fix everything at once. Filming your approach from the side with a phone shows you in seconds whether your release comes at the right moment.
Bowling regularly is still the best way to speed things up. In Morocco, the ASBM (Association Sportive du Bowling Marocain, the Moroccan Bowling Sports Association) runs a weekly league at the Megamall in Rabat, where experienced bowlers are happy to share their advice. To find a lane near you, check the list of bowling centres in Morocco, and track your progress with the score calculator.
Frequently asked questions
How many steps should you take in bowling?
Most bowlers take 4 or 5 steps. The 4-step approach is the easiest to learn; the 5-step approach adds a small starter step at the beginning and is very common among experienced bowlers.
When should you release the ball?
At the lowest point of the swing, when the ball passes in front of the ankle of your sliding foot, just before the foul line. The thumb comes out first, then the fingers.
Should you aim at the pins or the arrows?
Aim at the arrows, which are about 4.5 m from the foul line. A close target is much easier to hit accurately than a pin 18.29 m away.
Why do I lose my balance when I bowl?
Most of the time, the approach is too fast or the ball is too heavy. Slow down your first steps and try a ball one or two pounds lighter.
Which foot should slide in bowling?
The foot opposite your bowling arm: the left foot for a right-hander, the right foot for a left-hander. It's the foot you finish on.
Sources and references